| for STREETFIGHTERS |
 |
| Join the BugEye Brotherhood |
|
Japan's First Online Shop Specializing in Streetfighter Custom Parts
|
| www.BugBro.com |
| Home > Trid44 |
|
Trid44
30%OFF!!
| Regular Price: | 97,600円 |
| Special Clearance Price: | 68,320円 |
View in Japanese
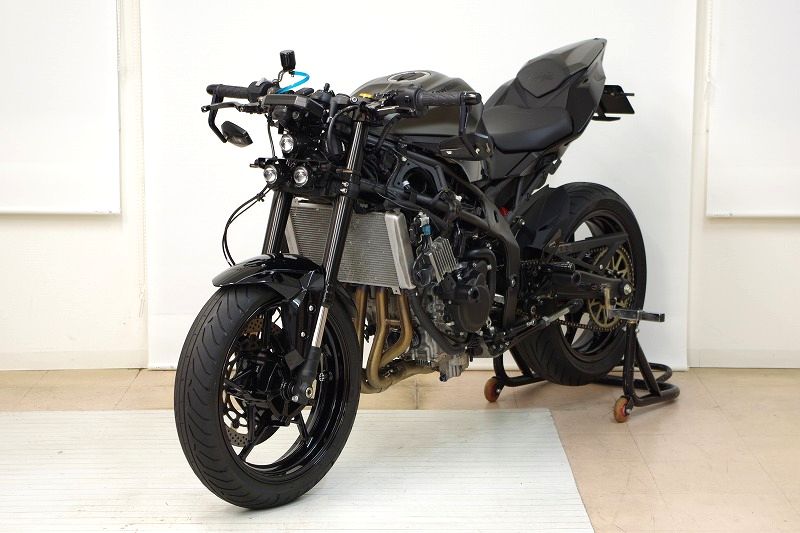
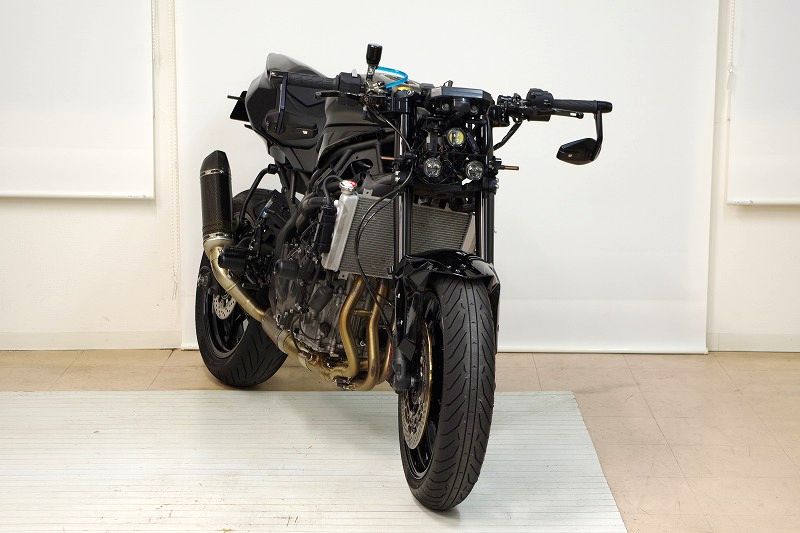
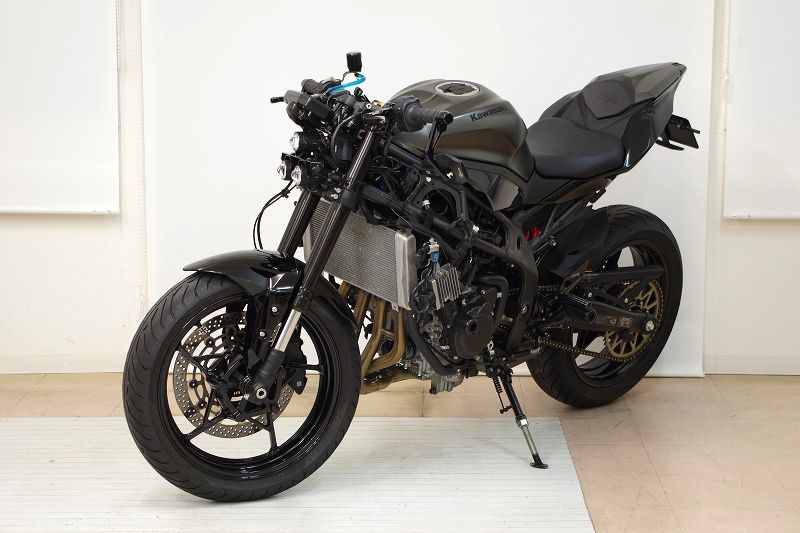
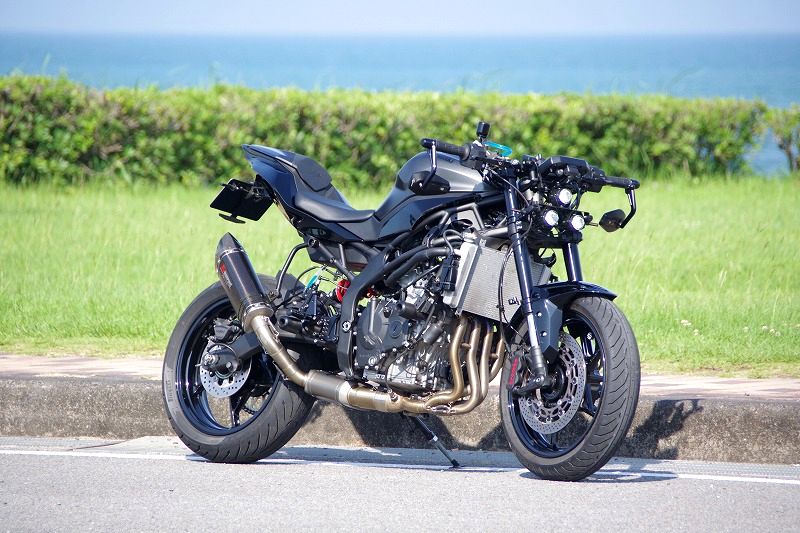
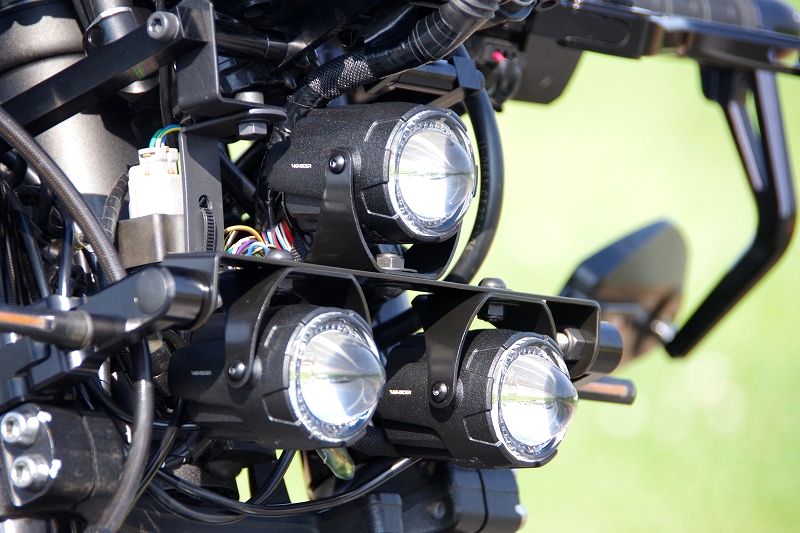
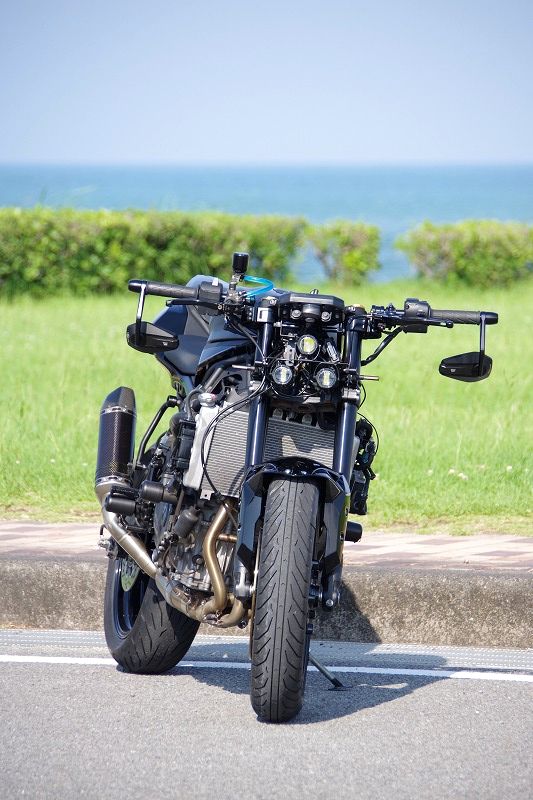
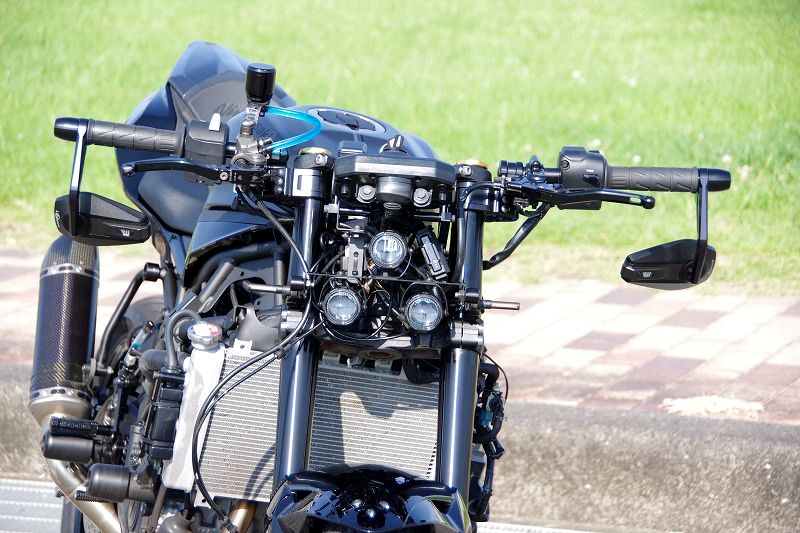
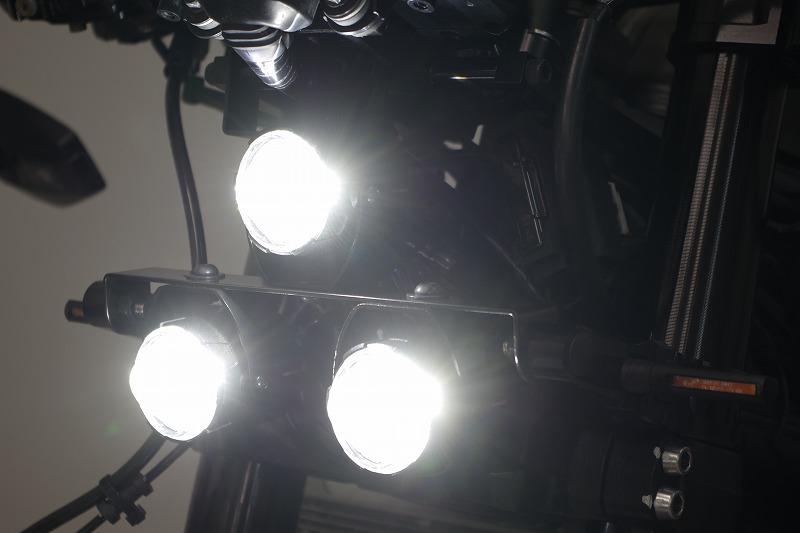
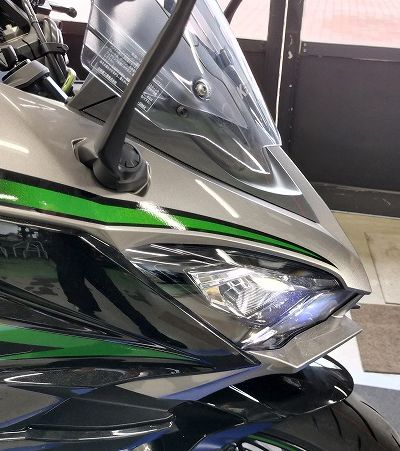
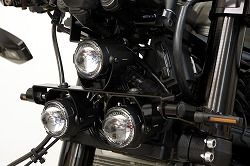
| Streetfighter-style extreme custom headlights featuring three φ44mm LED units arranged in a striking triangle formation. This is BugBro.com's original headlight kit. (Photo above shows it installed on our demo bike, the ZX-25R.) |

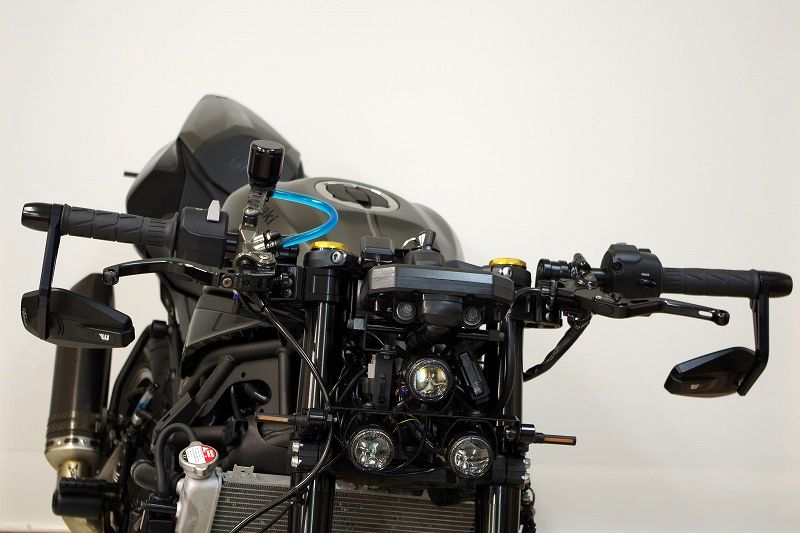
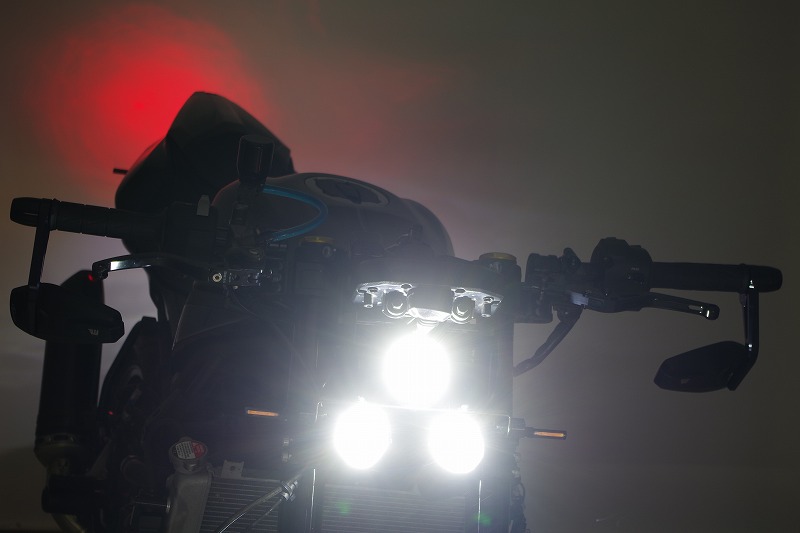
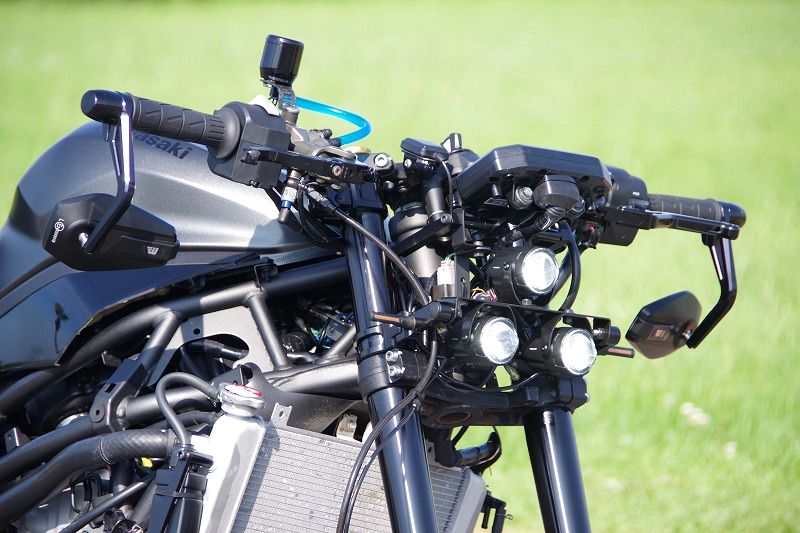
| I'm the guy running BugBro.com, and yeah, I use it myself too. Sorry if this sounds like shameless self-promo, but honestly, I really like it a lot. (^^) |

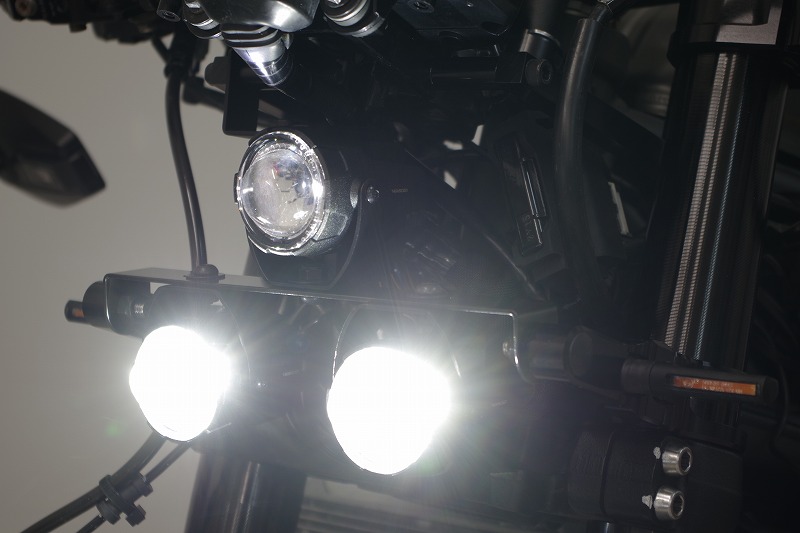
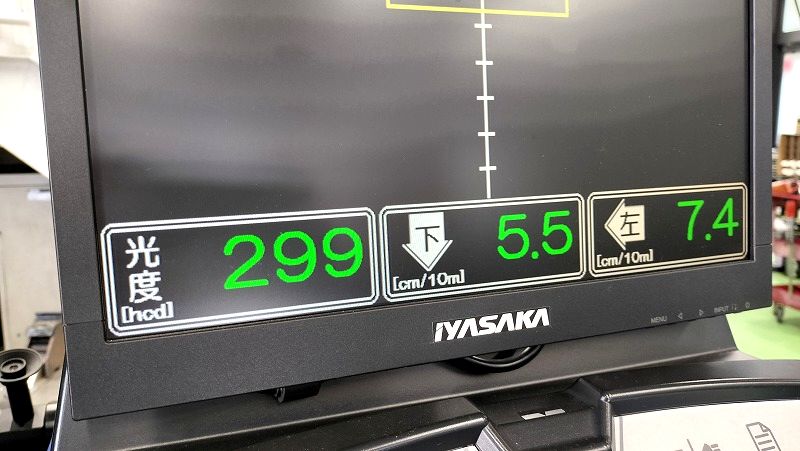
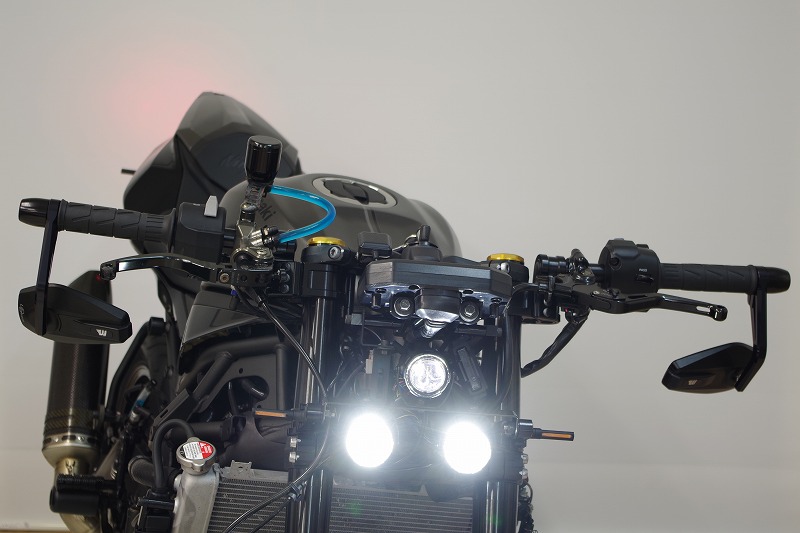
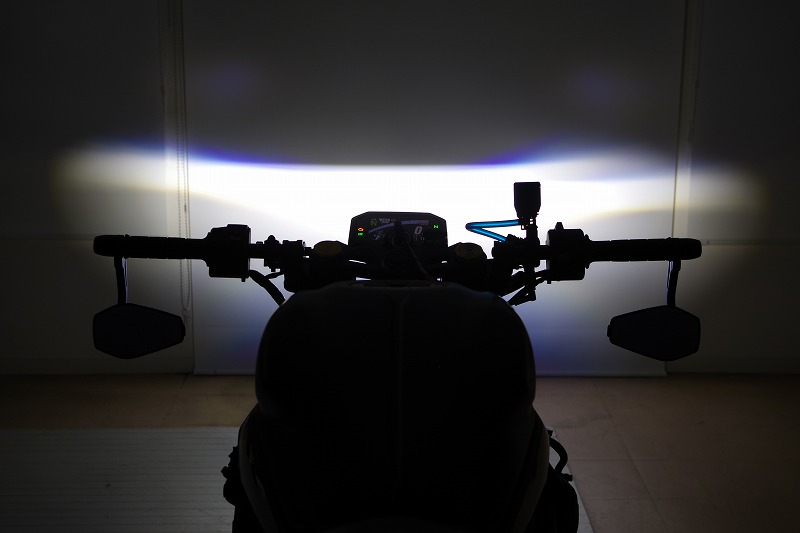
| The bike headlight is In Japan, a light intensity of 15,000 candela is required. The low beam on our demo bike (with Trid44 installed) puts out 29,900 candela per side using just one light unit each. |
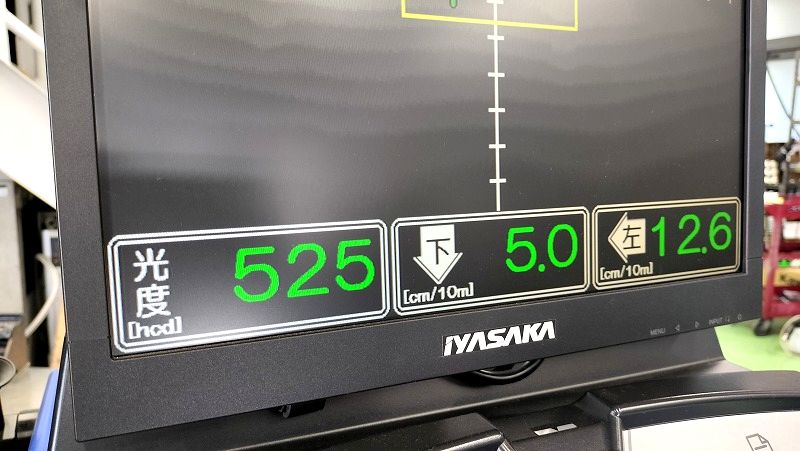
| That means the total low-beam output from both sides reaches 52,500 candela — more than enough brightness for real-world riding. |
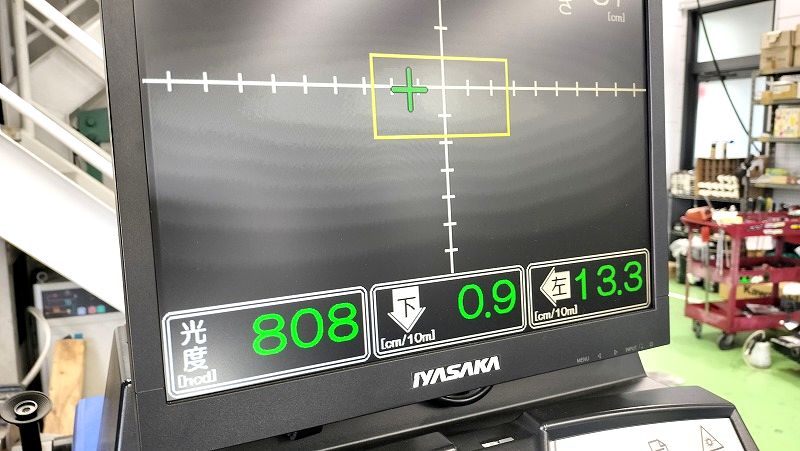
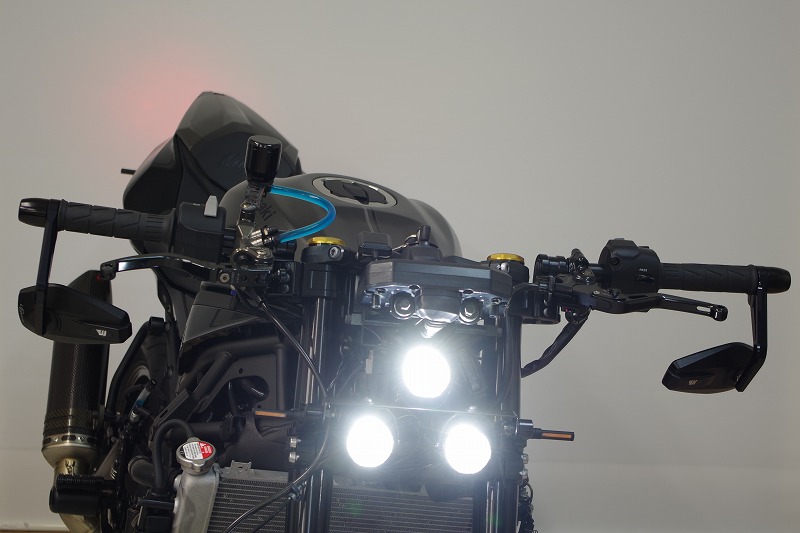
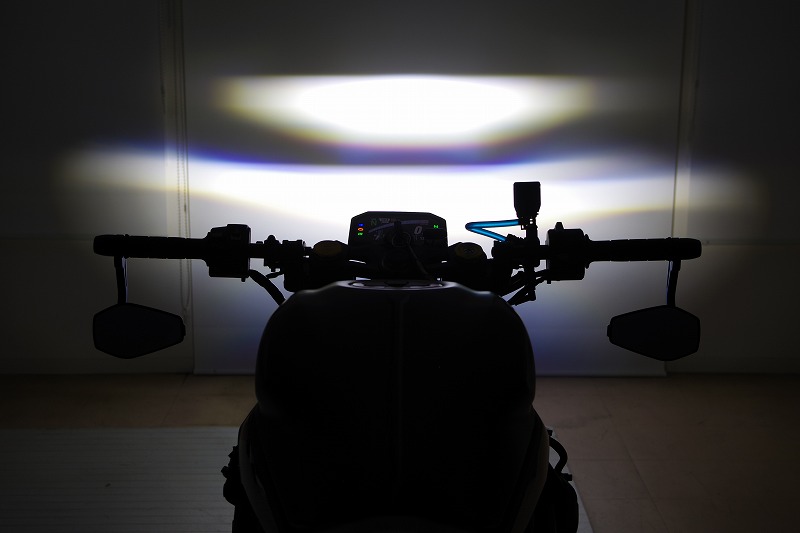
| Even the high beam alone delivers 80,800 candela, which is seriously bright on its own. |
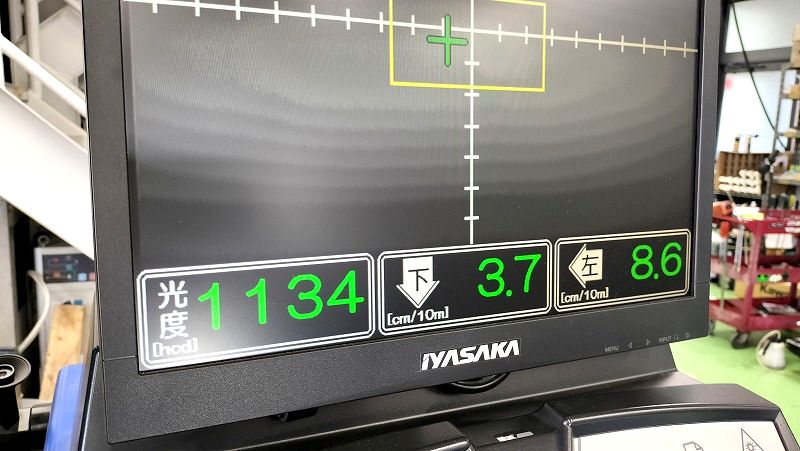
| When you combine both low beams + the high beam, you get a total of 113,400 candela — easily exceeding 100,000 candela. So it's not just about the aggressive streetfighter looks; this setup is genuinely practical and performs extremely well too. |
 |
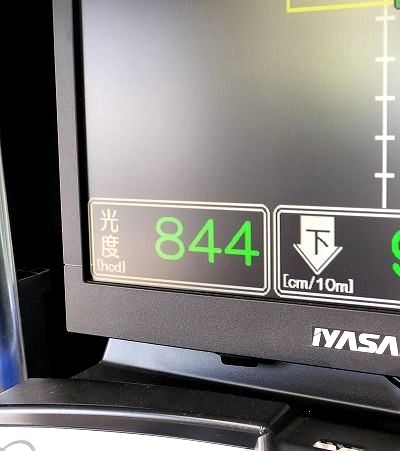 |
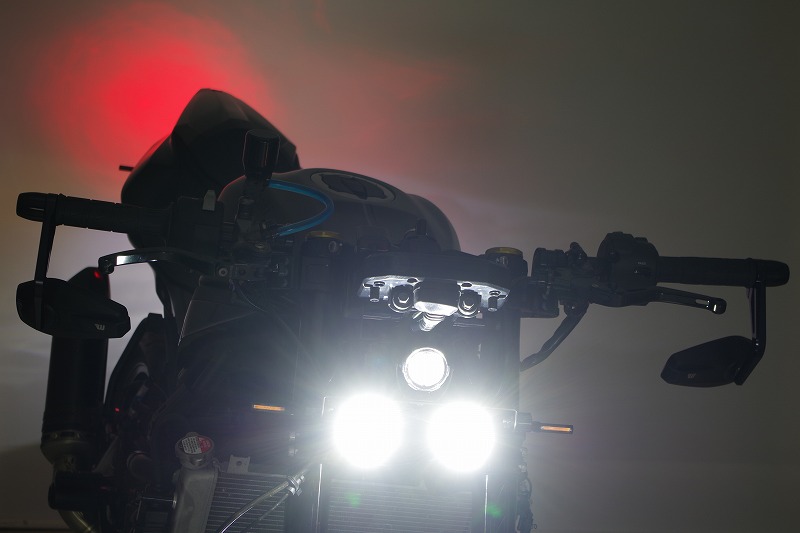
| By the way, |
| It is said to have the brightest headlights of any Kawasaki vehicle. |
| The total brightness of Ninja1000's low beam and high beam is |
| The vehicle we tested was 84,400 candela, so |
| Despite the small headlights, |
| The brightness of "Tride 44" installed on our demo car is, |
| The result was even better than Ninja1000. |
| Above is |
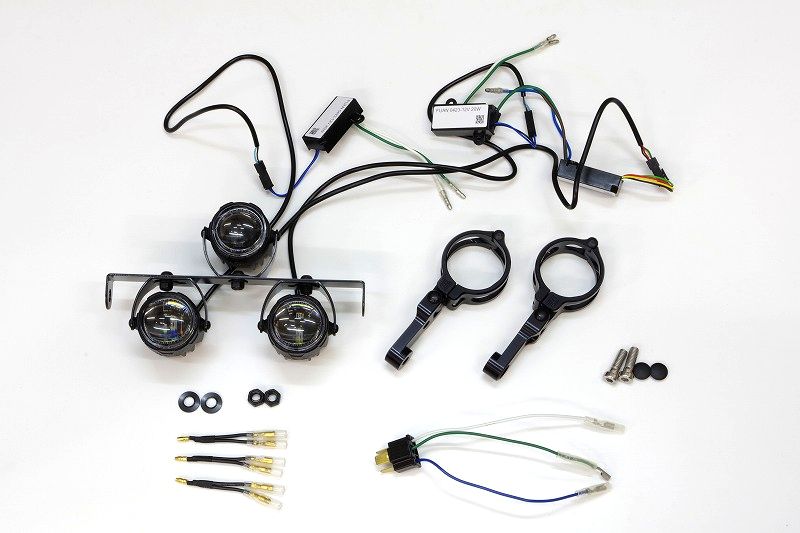
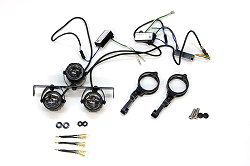
| This is the kit contents. |
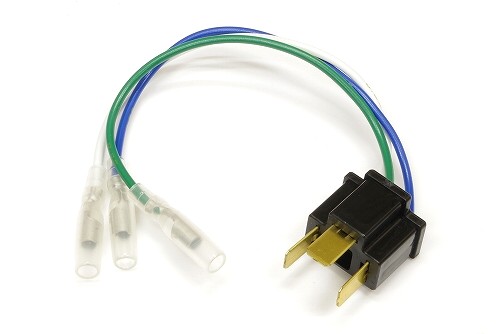
| *The "H4 harness [male type]" on the lower right is an option. |
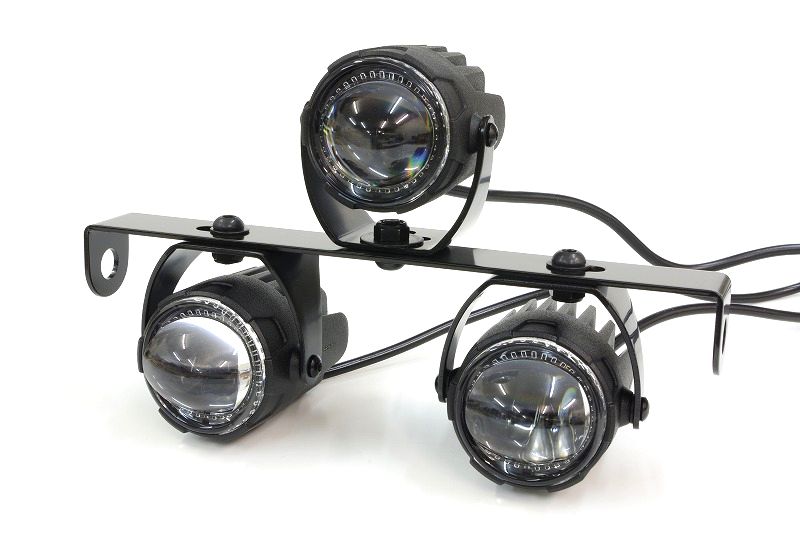
| The headlight section is |
| We will deliver the product to you fully assembled. |
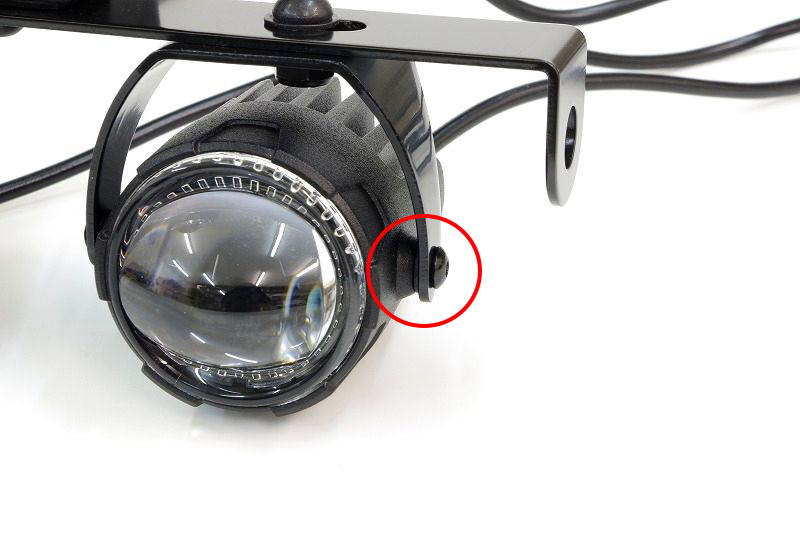
| The headlight portion varies depending on the production batch. Depending on the production batch, the threaded holes sometimes have insufficient depth, which can prevent the bolts from being fully tightened. We inspect the items at our store. In that case, We've resolved this by adding washers where needed during our pre-shipment inspection. Thanks for understanding! |
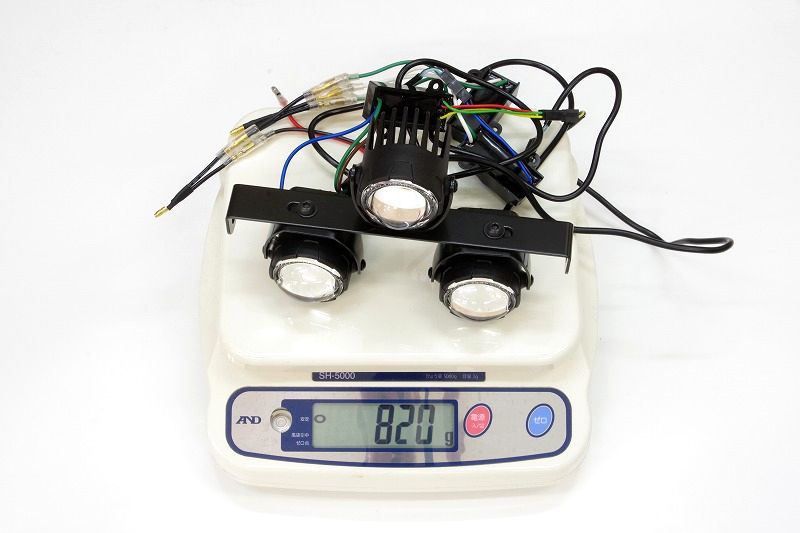
It weighs approximately 820 grams, which is less than 1 kilogram, making it very lightweight.
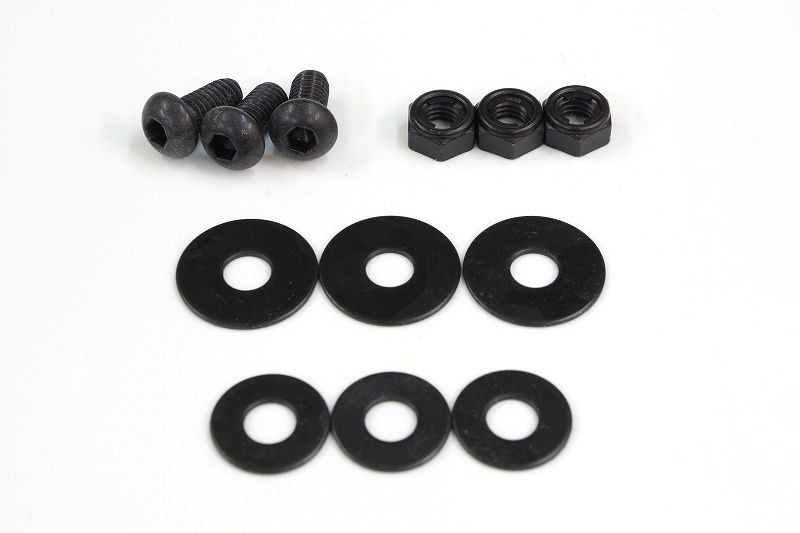
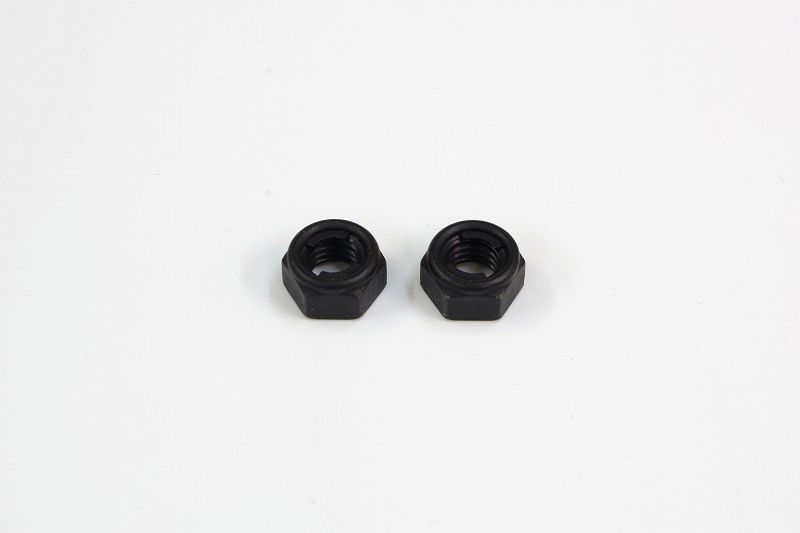
| The bolts and nuts used to mount the headlights are, |
| Stainless steel black button cap bolts and washers, |
| For the cross-shaped elongated holes in the U-shaped bracket attached to the headlight, |
| It uses large-diameter black stainless steel washers. |
| Also, |
| To prevent the headlights from falling off, |
| The nuts used are black stainless steel lock nuts. |
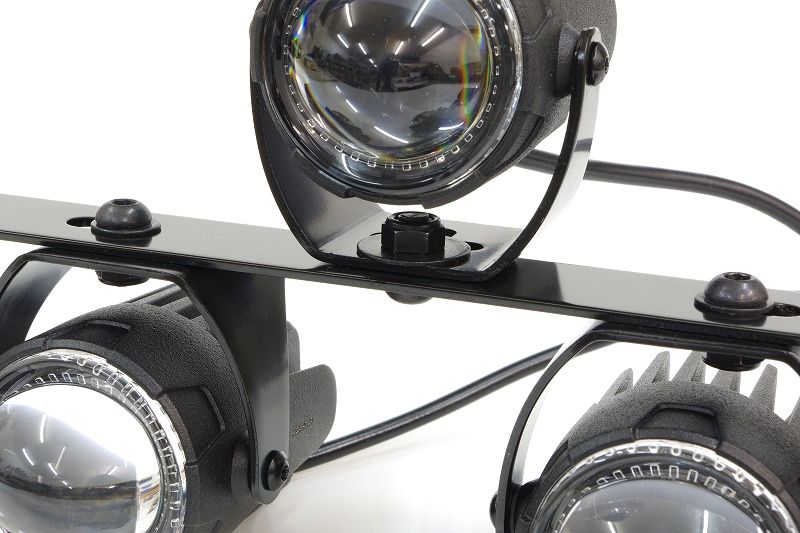
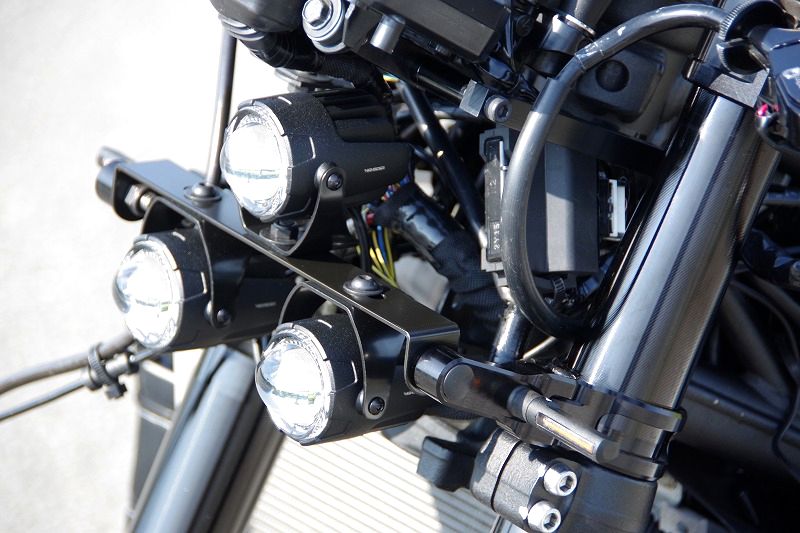
| The mounting on both sides is as follows: With a focus on a stylish look, the stainless steel button head cap bolts are visible during installation. The central headlight is, When tightening bolts, The nut is placed on top so you can easily get a wrench on the bolt. |
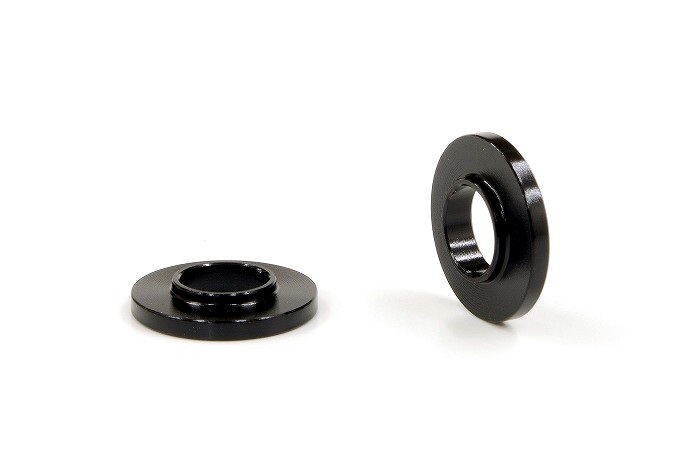
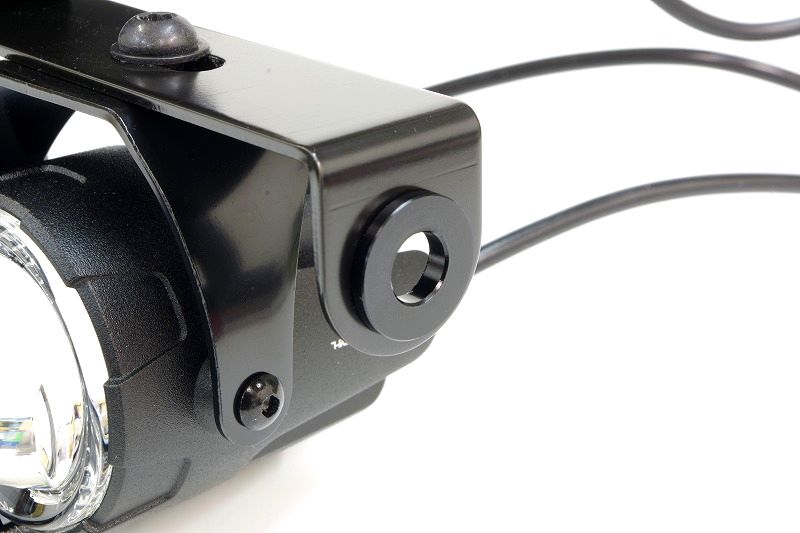
| Since the bolts for mounting the headlight included with the light bracket are M8, |
| The included "Aluminum collar for inner diameter conversion with minimal step difference φ10→φ8 [Black] (set of 2)" is, |
| Please use this in the φ10 hole on the side of the headlight mounting bracket. |
| The M8 nuts used for the bolts on the light bracket are also, |
| Similar to the headlight section, measures have been taken to prevent it from falling off. |
| It uses black stainless steel lock nuts. |
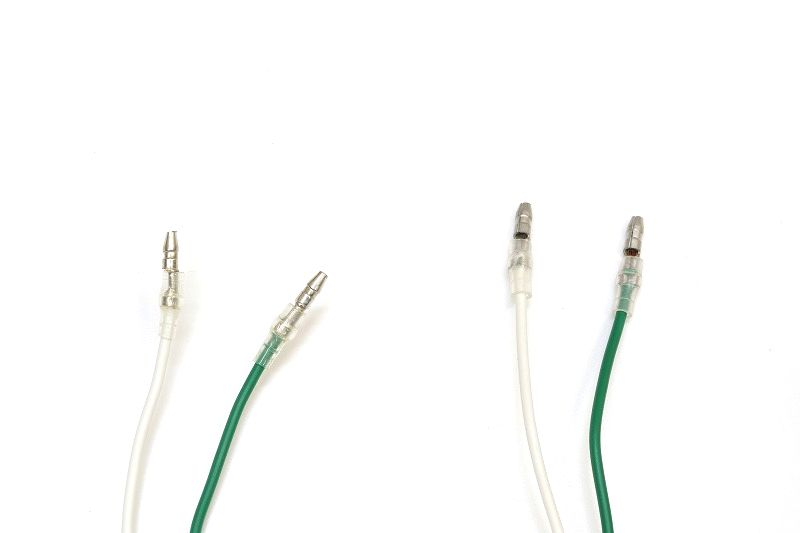
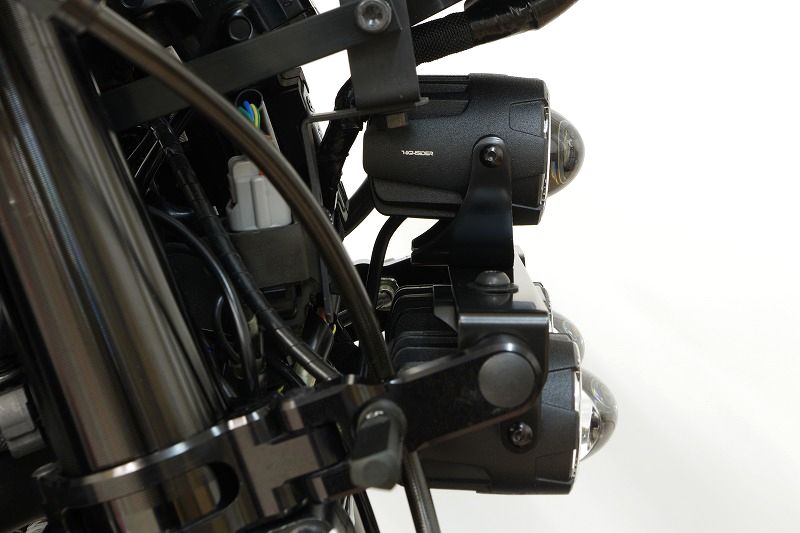
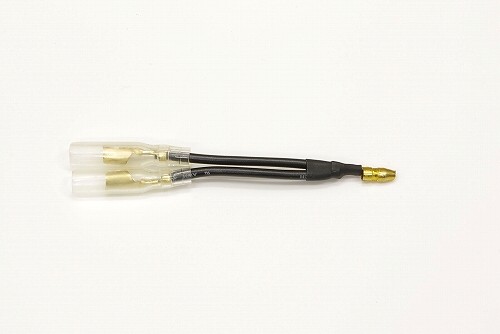
| The bullet connectors on the headlights are, |
| Originally, the smaller European-oriented type on the left was used, |
| We have changed the size to the standard size sold in Japan at our store. |
| It is available as an option. |
| The blue wire of the 'H4 conversion harness [male type]' connects to the blue wire of the high beam. |
| The green wire of the H4 conversion harness is connected to the white wire of the low beam. |
| Connect the white wire (ground) of the H4 conversion harness to the green wire of the headlight. |
| |
| Also, |
| The brown wire for the high beams is for the daytime running lights. |
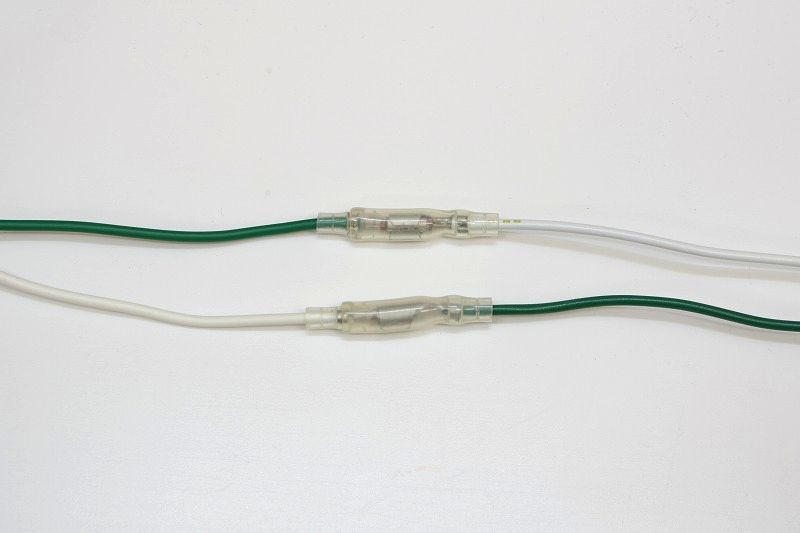
| High beams are easy to distinguish by the blue lines, Low beam and ground are The green and white wires will be swapped. |
| The two included "Y-shaped splitter harnesses" are Low beam headlights, Used when grouping positive and negative values, Use the second Y-splitter to distribute the ground wire from the bike to both the headlights and the DRLs. Also, The ground for the high beam is, Connect it to the ground wire that is routed from the vehicle body to the daytime running light side. |
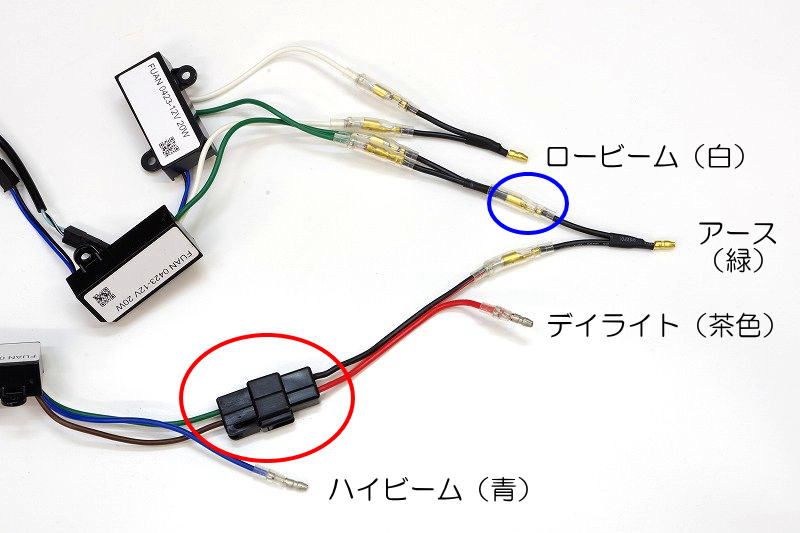
| Please refer to the diagram above for wiring instructions. |
| Also, |
| We will also include the two-pin coupler with the red circle as a bonus. |
| By the way, |
| When using the optional 'H4 conversion harness (male type)', |
| Remove the blue circular spade connector. |
| Along with the crimp terminals for the low beam and high beam, |
| It will be connected to the 'H4 conversion harness [male type]'. |
| Along with the daytime running light connector that can be removed with a single touch, |
| When using the 'H4 conversion harness [male type]', |
| This makes removing the headlights much easier, so I recommend it. |
| ◆Headlight Features ● Uses LEDs. ● Complies with vehicle inspection regulations (Note: We cannot guarantee that the lights will pass inspection due to differences in vehicle setup, etc. Please understand this in advance. Also, we cannot respond to any complaints regarding vehicle inspections.) ◆Headlight Dimensions ● Diameter: 55mm ● Lens Diameter: 44mm ● Mounting Hole Spacing: 55mm ● Side Mounting Hole: M4 ◆Headlight Material ● Housing = Aluminum ● Bracket = Steel ◆Headlight Power Consumption ● 20W: 1200 lumens ◆High Beam Electronic Box Dimensions ● Width: 53.3mm ● Depth: 33.5mm ● Height: 16.5mm ◆Low Beam Electronic Box Dimensions ● Width: 53.3mm ● Depth: 33.5mm ● Height: 15mm ◆High Beam & Low Beam Wiring ● Blue = High Beam ● Brown = Daytime Running Light (Parking Light) ● White = Low Beam ● Green = Ground (-) ● Cannot be used with AC (alternating current). ◆Installation Precautions ● Do not connect without using the black electronic box (voltage control device) located in the middle of the wiring. |
|
|
|||||||||||||||||||
|
|
|||||||||||||||||||
|
|
|||||||||||||||||||
|
|
Please refer to the table above for wiring instructions.

| ↑ is, |
| For vehicles where the meter and key cylinder are located in front of the top bridge. |
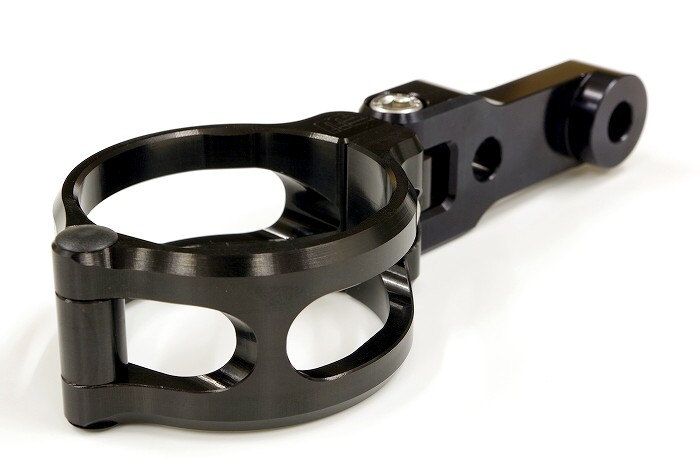
| With the dedicated light stay [long], |
| It is possible to install turn signals with M8 mounting screws. |
| ↑ is, |
| There is no key cylinder in front of the top bridge. |
| Furthermore, there's no meter either. |
| For vehicles that are small, if any, |
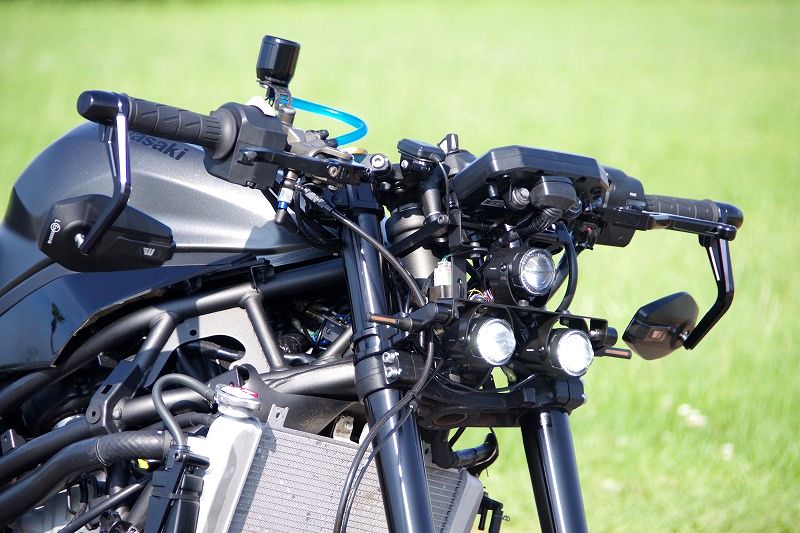
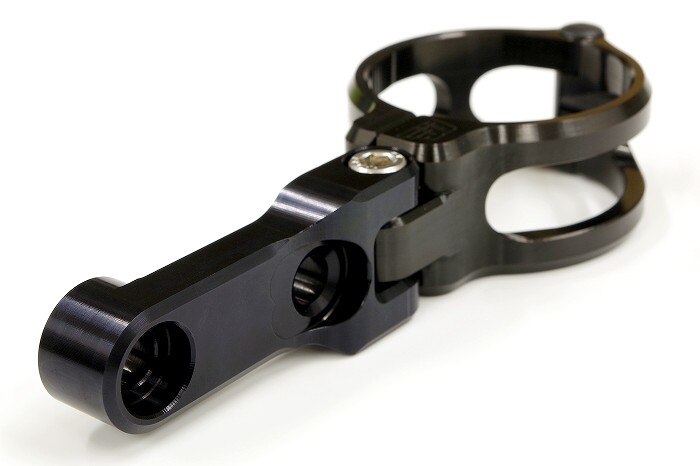
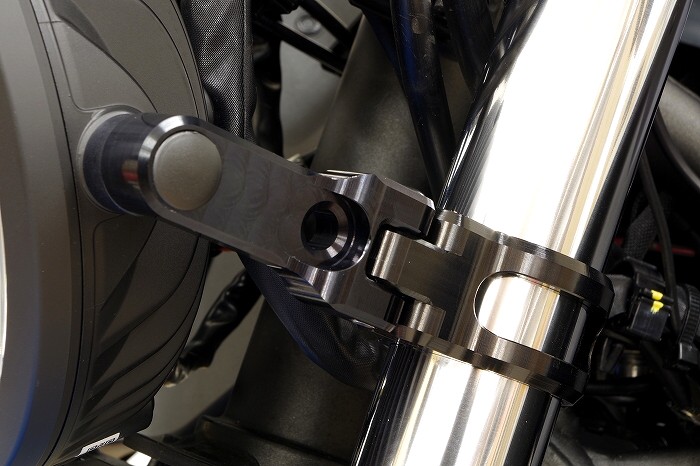
| With the dedicated light bracket [short], |
| Because the small headlight is positioned quite close to the front fork, |
| It's cooler. |
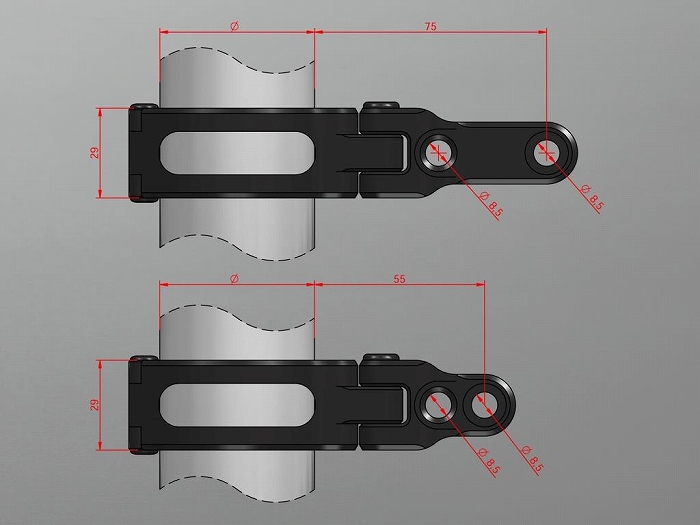
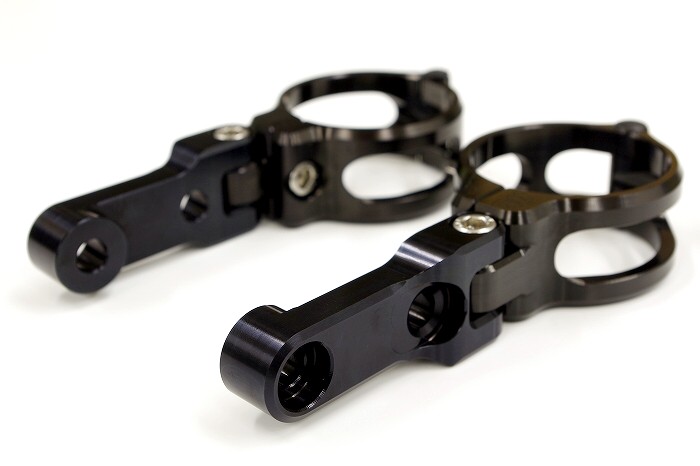
| The fork clamp section ranges from φ37 to φ58. |
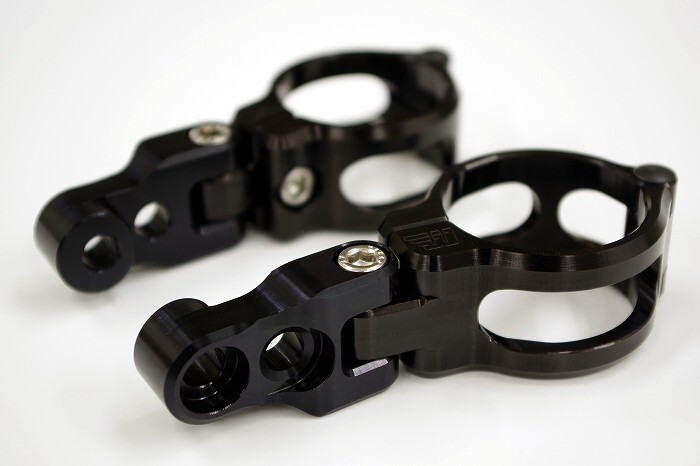
| The stay portion is available in two lengths: long and short. |
| By attaching the included cap to the head of the headlight mounting bolt, |
| It will have a stylish appearance. |
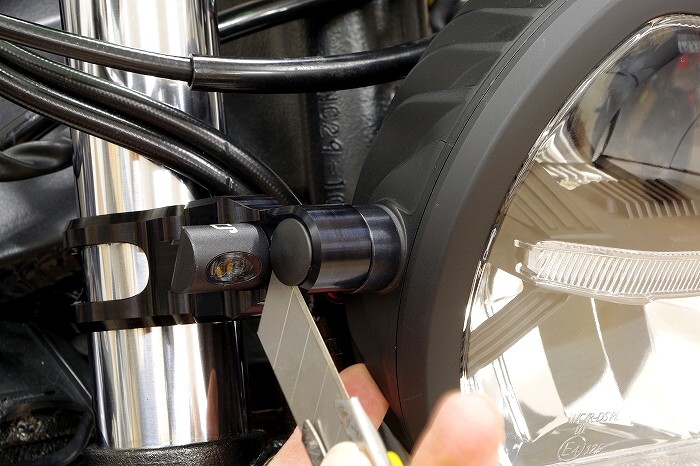
| When removing the included cap, |
| Using a utility knife blade is recommended. |
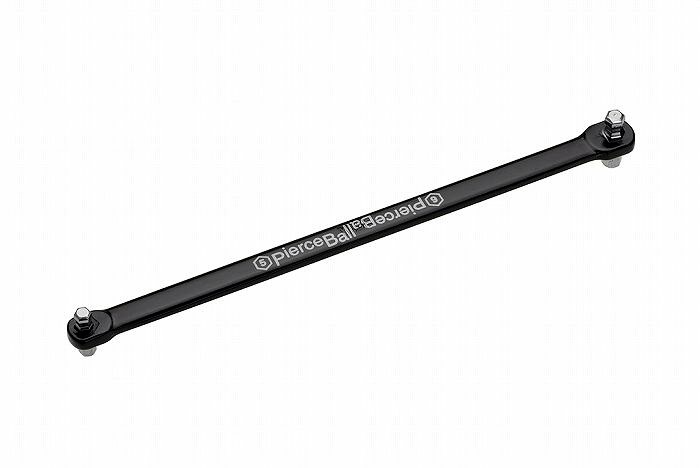
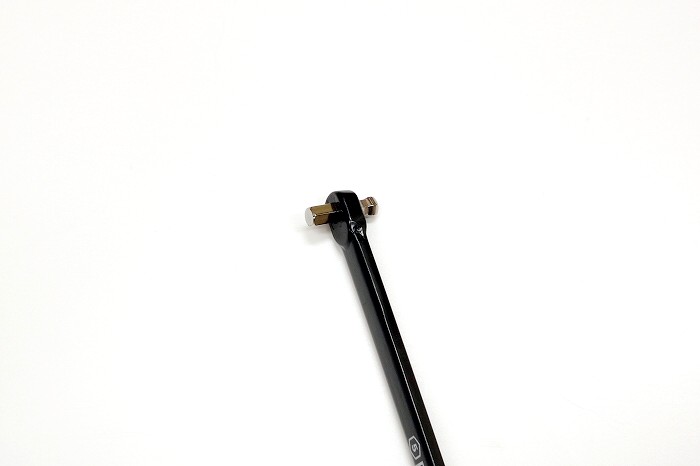
| The screws of the fork clamp facing inward, |
| When tightening with the headlights installed, |
| We recommend using the "Piercing Ball Wrench (5mm x 6mm)" shown above. |
Trid44
|

| for STREETFIGHTERS |
|
| Join the BugEye Brotherhood |
|
Japan's First Online Shop Specializing in Streetfighter Custom Parts
|
| www.BugBro.com |